10 Best Gabion Wall Designs For Vegetable Gardens
Discover innovative gabion wall designs for your vegetable garden that blend beauty and functionality; explore the top ten options that will elevate your outdoor space!

Discover innovative gabion wall designs for your vegetable garden that blend beauty and functionality; explore the top ten options that will elevate your outdoor space!

Start your journey to a thriving multi-tiered espalier fruit tree garden with five essential tips that could transform your space—discover them now!
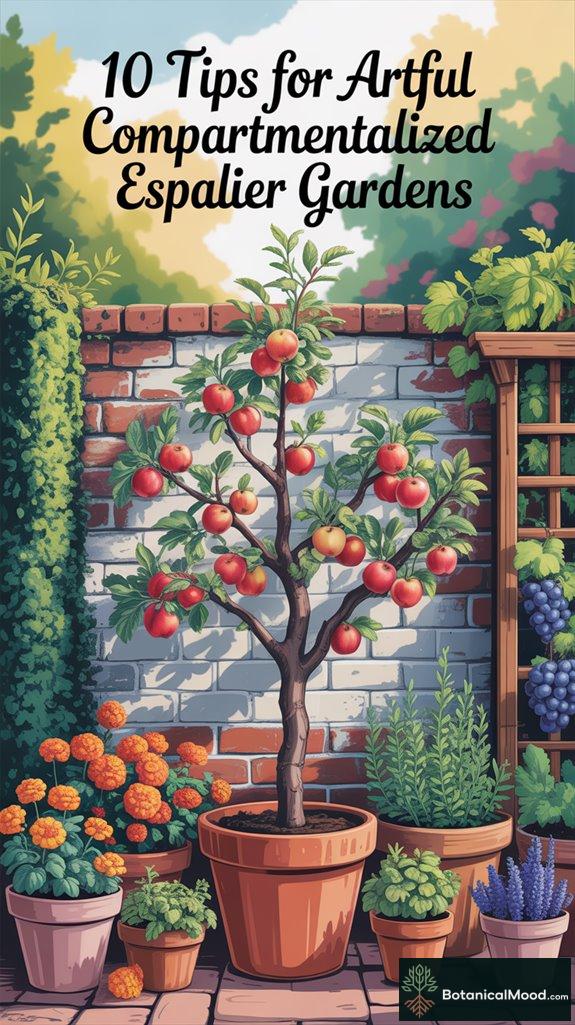
Breathe life into your backyard with these 10 tips for creating artful espalier gardens that promise stunning beauty and fruitful harvests. Discover the secrets inside!
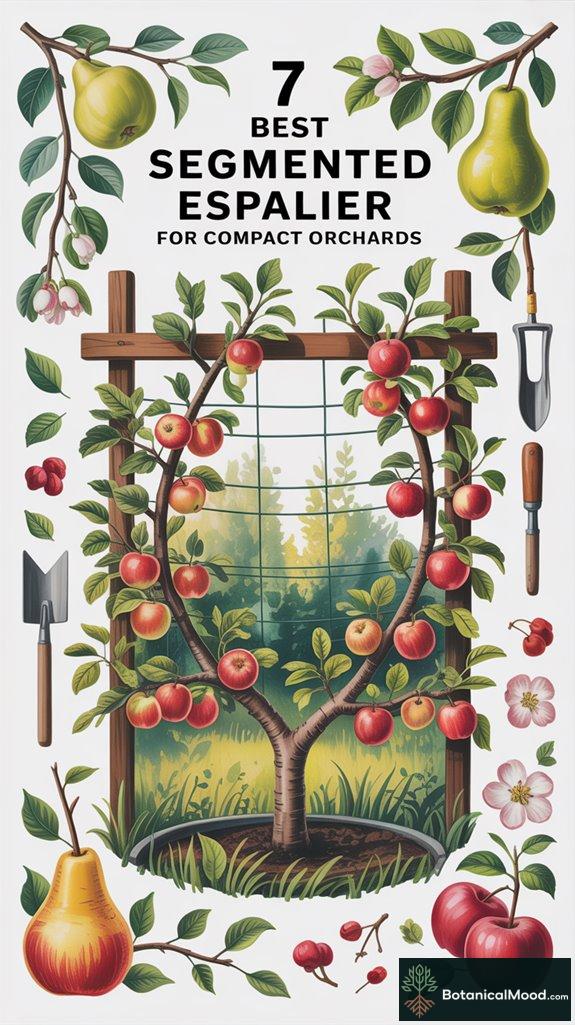
Get inspired by the 7 best segmented espalier designs for compact orchards and discover how to transform your garden space into a fruitful haven.
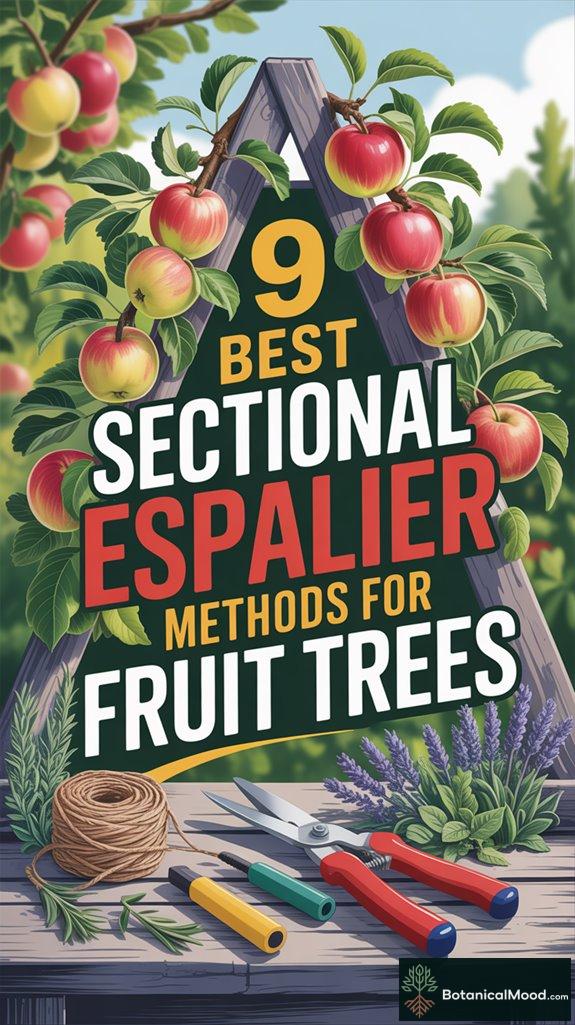
Get ready to explore the 9 best sectional espalier methods for fruit trees that will transform your garden—discover which technique suits your space!
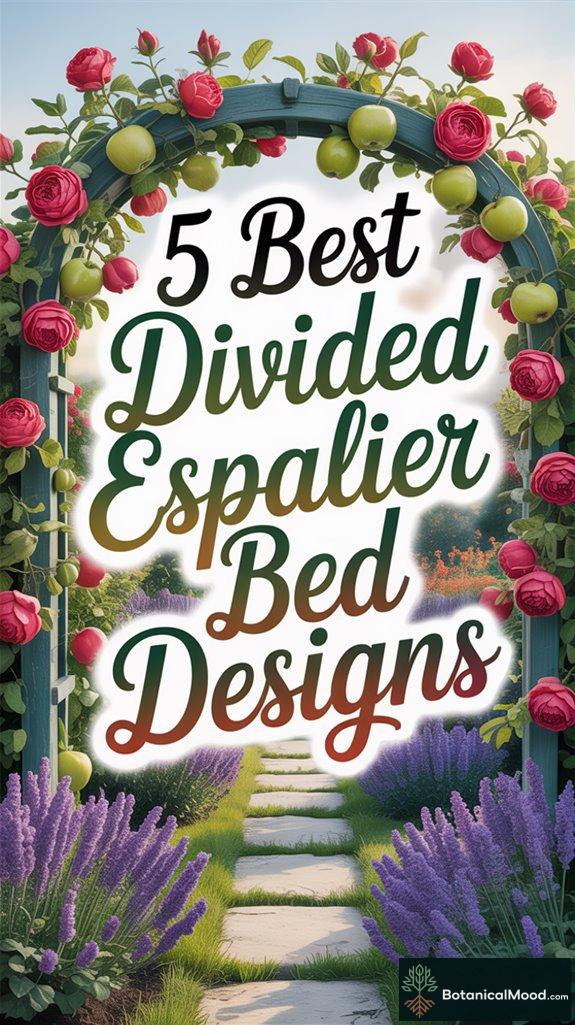
Discover five stunning divided espalier bed designs that will transform your garden—each offering unique styles and layouts that inspire creativity.
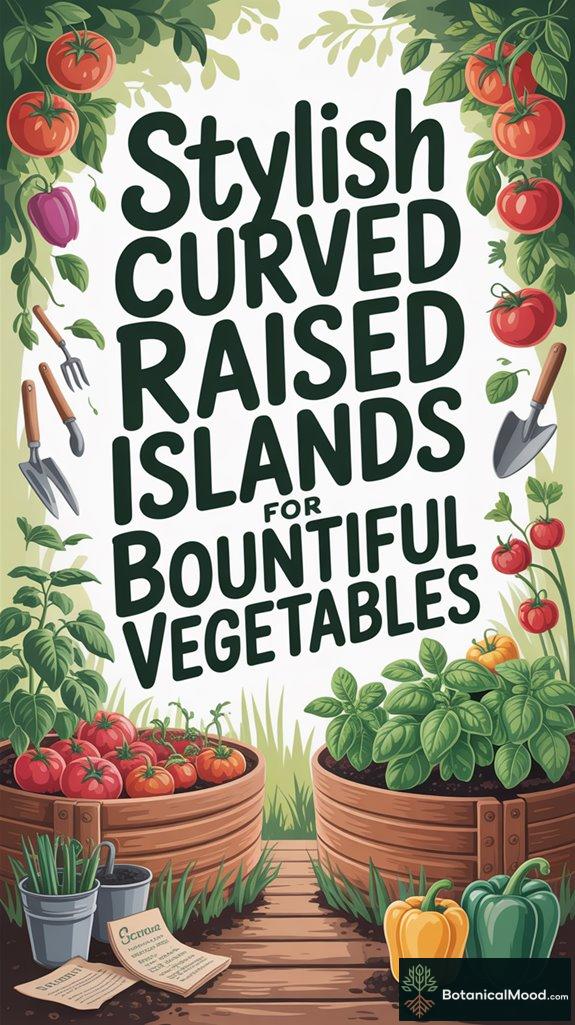
Get inspired by stylish curved raised islands that transform your garden into a vibrant vegetable haven — discover innovative ideas to maximize your space.

Harness the beauty of curved planters with these 9 tips that will elevate your patio garden to new heights of style and charm. Discover how!

Inspiring tiered curved island garden designs await you, promising to elevate your outdoor space—find out which style suits your vision best!
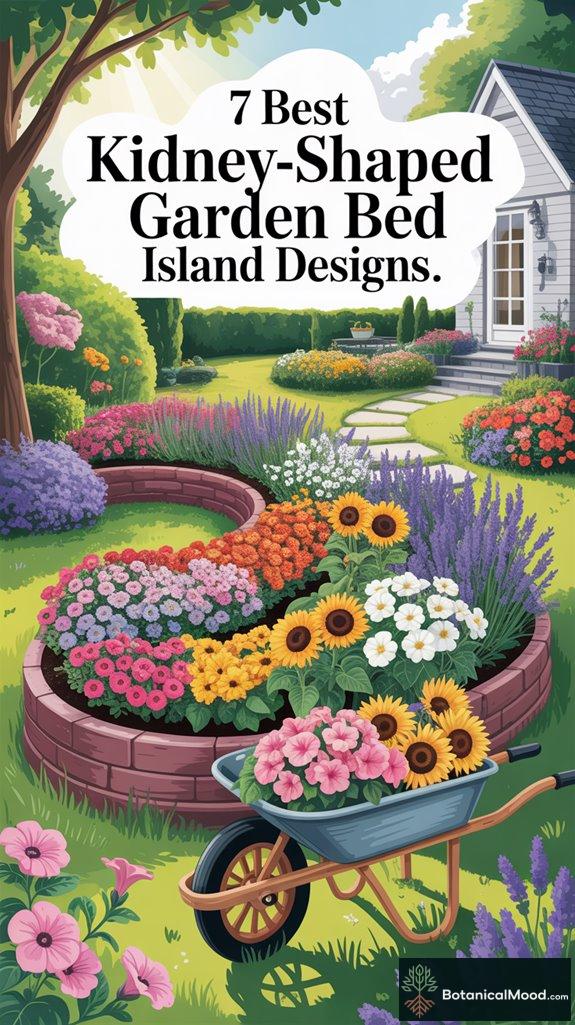
Master the art of gardening with these 7 stunning kidney-shaped bed designs that will transform your outdoor space—discover the perfect one for you.