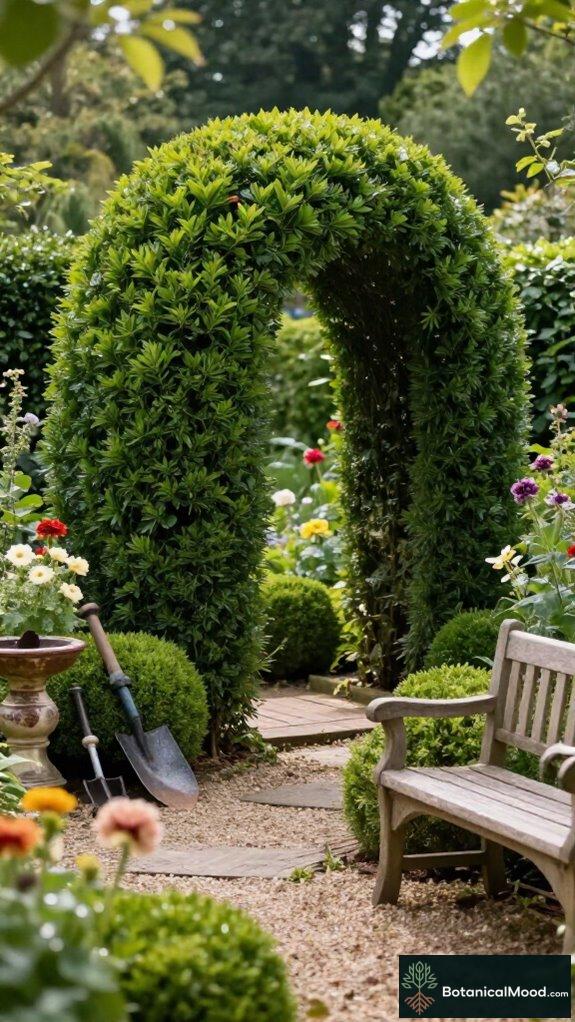
9 Best Boxwood Shrubs You’ll Love for Your Garden
Hone your garden with nine standout boxwoods, but stay tuned to uncover which varieties suit sun, shade, and your design dreams.
Hone your garden with nine standout boxwoods, but stay tuned to uncover which varieties suit sun, shade, and your design dreams.
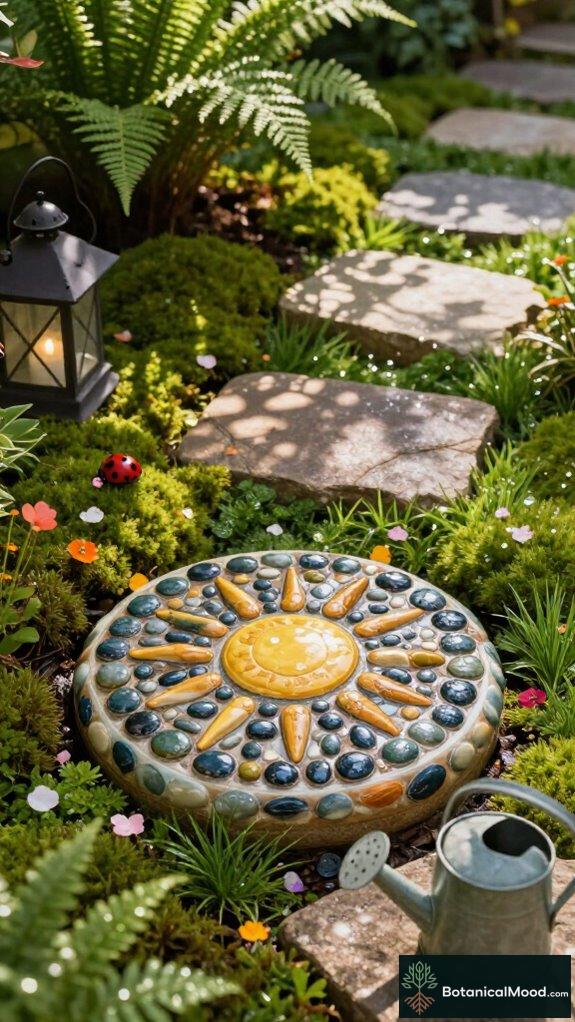
Aiming to elevate your path, these 9 best garden stepping stones for 2026 blend durability and design—will your favorite upgrade your yard or surprise you next?
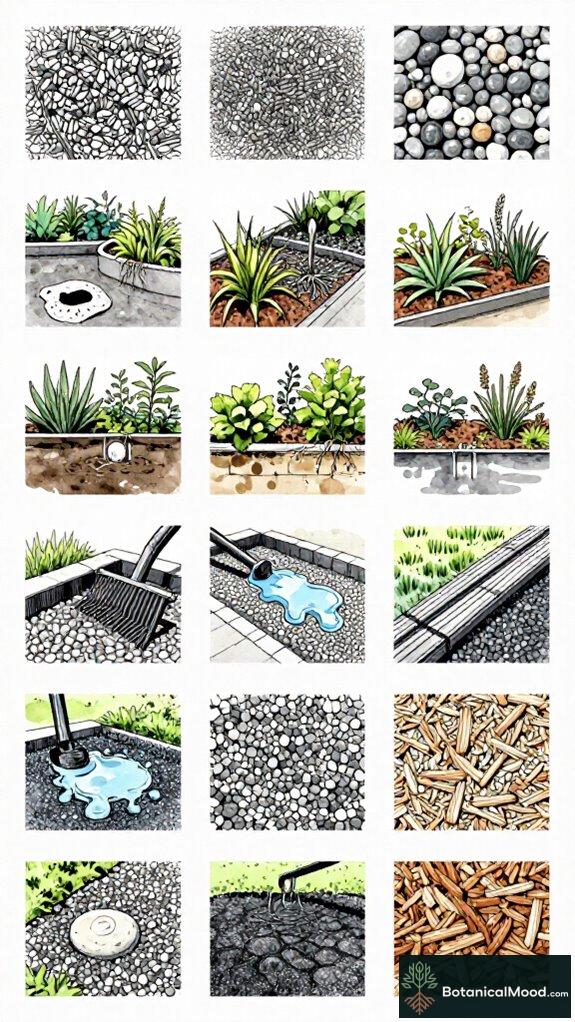
Lively yet practical, discover 7 pros and cons of garden gravel—durability, drainage, and drawbacks that might change your landscape plans.
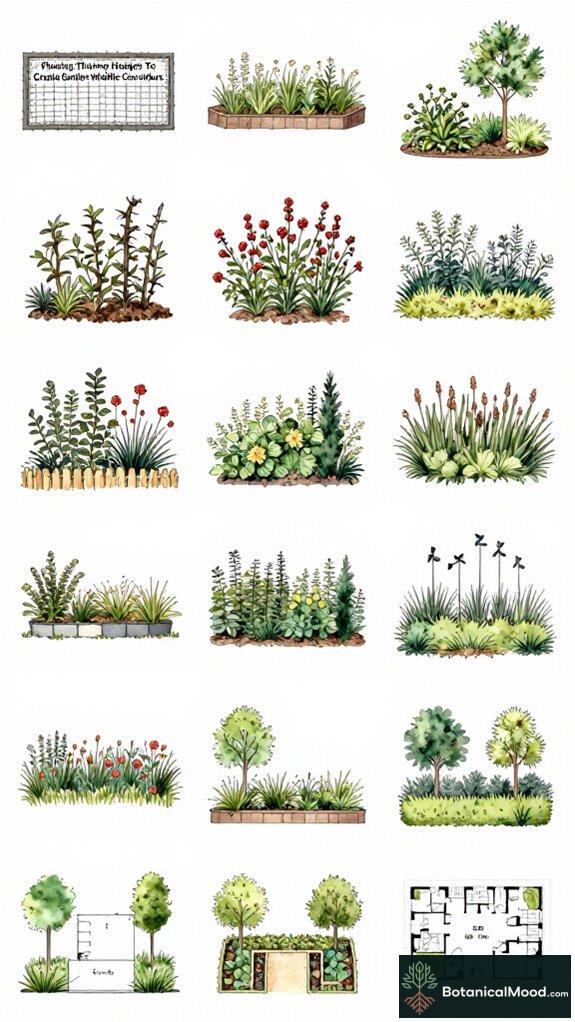
Growing thorny hedges for wildlife corridors with layered native plants creates safe cover and blooms—keep reading for spacing, design, and cat-friendly access tips.
Meta description: Lure your landscape with five clever garden design fixes for jumpers, and discover which option leaves you longing to read on.
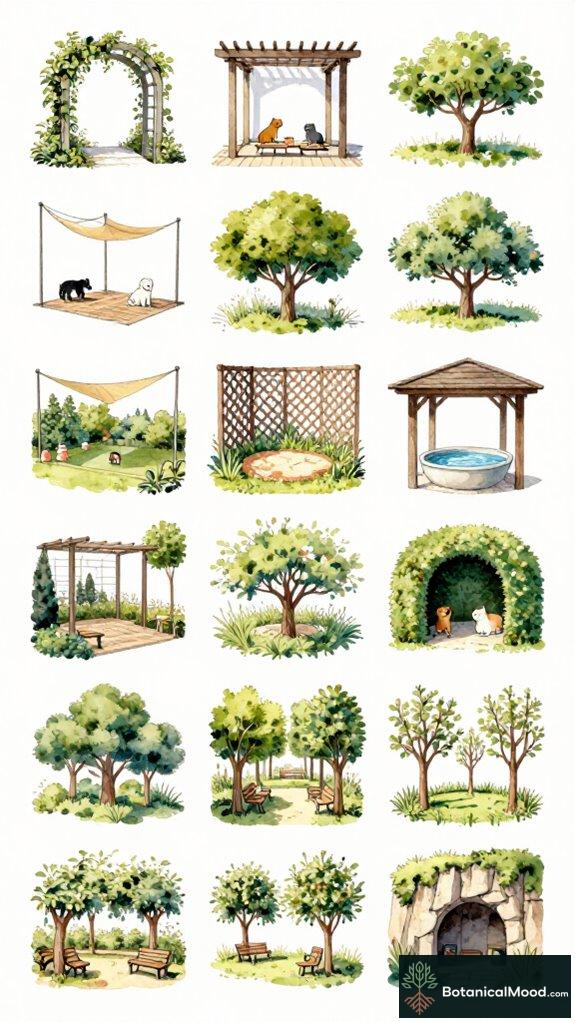
Sculpt stunning pet-friendly shade with durable, sun-smart fabrics and strategic tree shade, and discover why your garden deserves these 9 beautiful, dog-friendly structures.
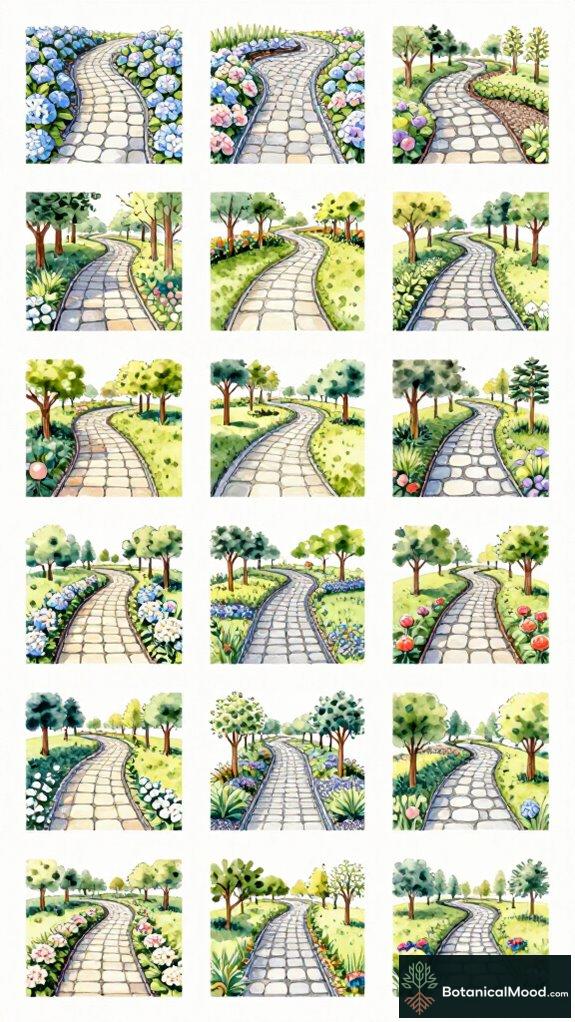
Keen on beauty and brains, discover 6 dog-path secrets you’ll crave to read more about, even as the next season reshapes your design.

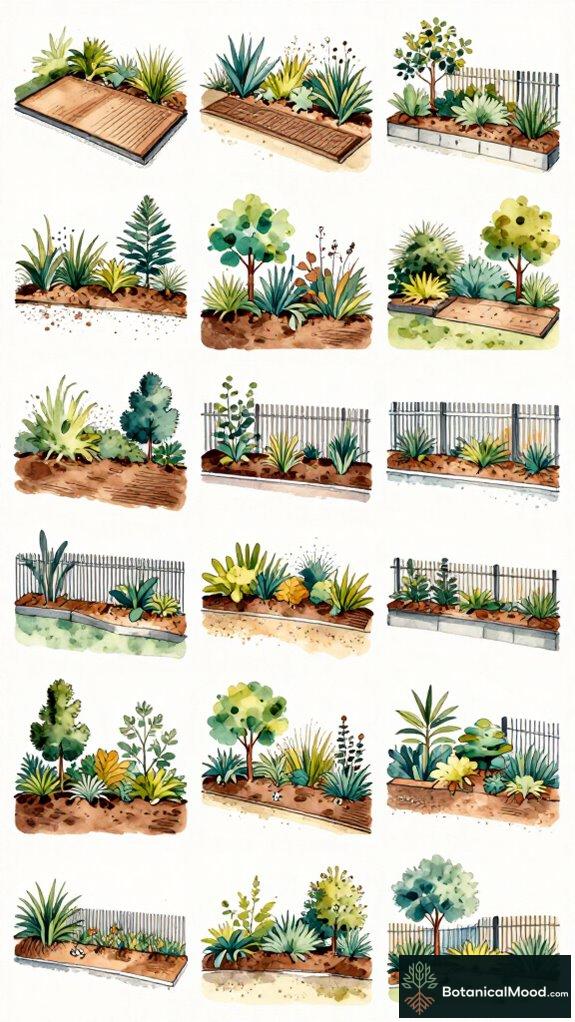
Discover innovative gabion wall designs for your vegetable garden that blend beauty and functionality; explore the top ten options that will elevate your outdoor space!
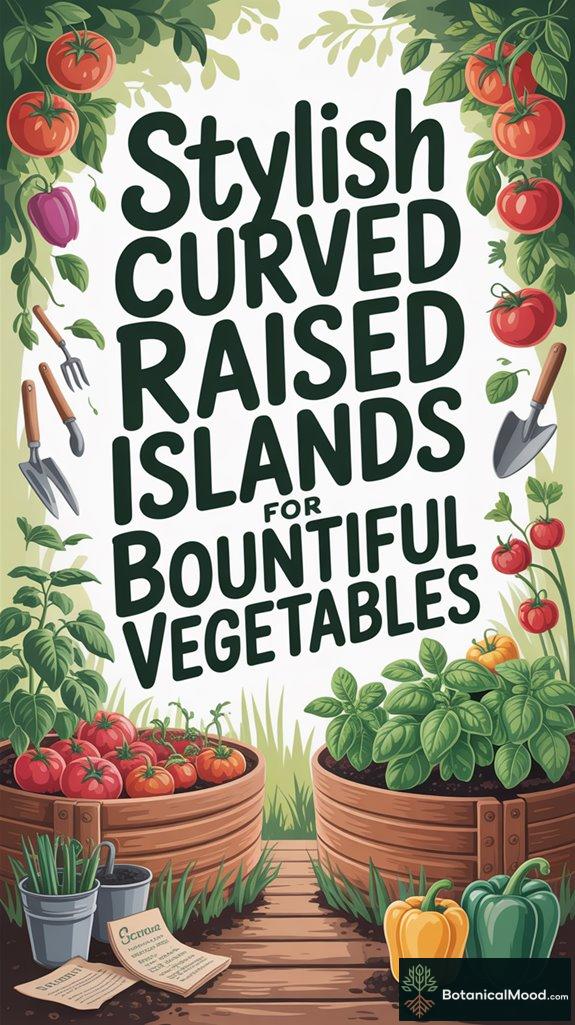
Get inspired by stylish curved raised islands that transform your garden into a vibrant vegetable haven — discover innovative ideas to maximize your space.

Harness the beauty of curved planters with these 9 tips that will elevate your patio garden to new heights of style and charm. Discover how!