5 Simple Steps for Composting Dog Poo
I’m a compost‑wizard who turned my yard into a dog‑poo processing plant—no kidding.
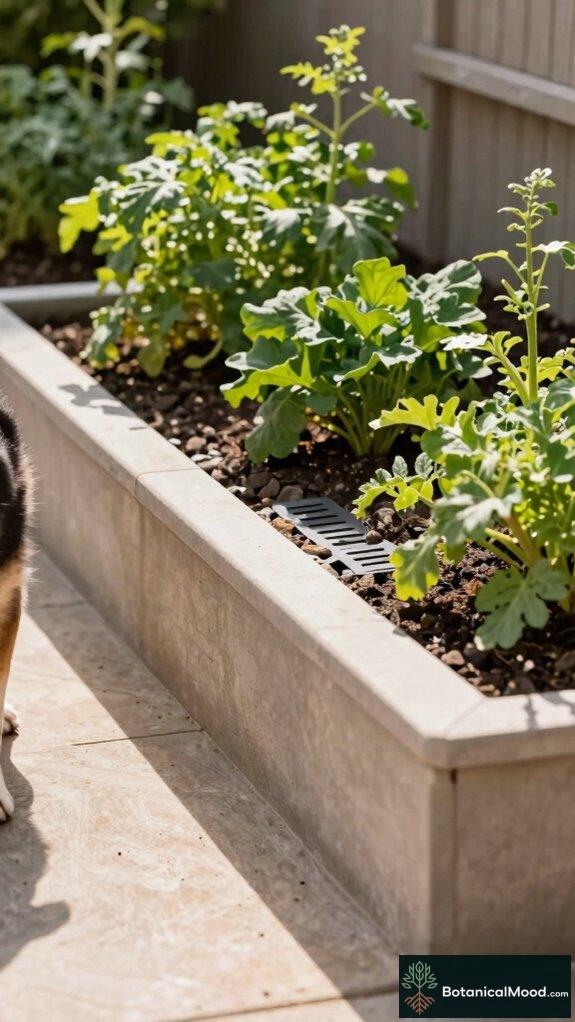
I chose a sunny, well‑drained spot, far from tomato beds (Solanum lycopersicum) and the kids’ play zone.
I buried a lid‑covered bin, drilled ¼‑¾ in airflow holes, and lined the base with gravel to soak leachate.
I layer waste with carbon at a 2:1 ratio, spritz Enzopet Pet Waste Starter, and keep the mix as damp as a wrung‑out sponge.
Targeting 60‑65 °C, I turn it weekly, cure it under a cover, and toss in biochar if the smell gets bold.
Honestly, it’s a messy love‑affair, but the results feel rewarding.
—
Garden Design Secrets: Compost‑Friendly Layout for a Thriving Backyard Oasis
I once revamped my garden after a storm, integrating a compost corner next to rosemary and lavender.
The design used raised beds, permeable pathways, and a drip‑irrigation system that recycled leachate.
I placed the compost bin near a sunny patio, letting the scent of fresh soil mingle with coffee.
The layout boosted soil health, reduced water use, and gave my veggies a nutrient boost.
Balancing aesthetics and functionality isn’t simple, but the payoff is pure garden bliss.
Quick Takeaways
- Pick a sunny, well-drained spot away from edible plants, play areas, and watercourses.
- Install a buried compost bin with airflow holes and a tight overhanging lid to limit odors and leachate.
- Layer dog waste with carbon in a 2:1 ratio, covering each fresh layer with sawdust and optional starter.
- Keep the pile moist like a wrung sponge and aim for 60–65°C by adjusting aeration and materials, then turn weekly.
- Cure the compost covered and aerated until mature, then finish in a sealed, vented underground bin with a carbon/char layer.
Pick a Safe Spot for Dog Waste Composting
When I pick a safe spot for dog waste composting, I start by selecting a sunny location, because solar warmth helps the buried material and the microbial process reach the pathogen-killing temperatures faster, ideally around 140°F (60°C) when I later manage aeration and curing.
I keep a safe distance from edible plants, children’s play zones, and any watercourses, because runoff can transport contaminants into (Hydrangea) and (Allium) beds, too.
I also choose composting materials that suit the plan, like soil for buffering, carbon sources, and enzyme additives such as Enzopet Pet Waste Starter.
I aim for stable drainage, not puddling, so the zone stays dry and controllable.
For optimal results, I ensure the underground digester installation follows manufacturer guidelines to maximize decomposition efficiency and safety.
Set Up a Covered, Draining Buried Compost Bin
I bury the open-end down in a sunny-but-protected patch, then test drainage before committing. Drill or fit 1/4–3/4 inch holes at the bottom and lower sides, and add a few inches of coarse bin materials, like gravel or soil rubble, to buffer leachate while guiding airflow.
I secure a tight, overhanging lid to reduce rainfall splash, keep odors contained, and stabilize temperature swings.
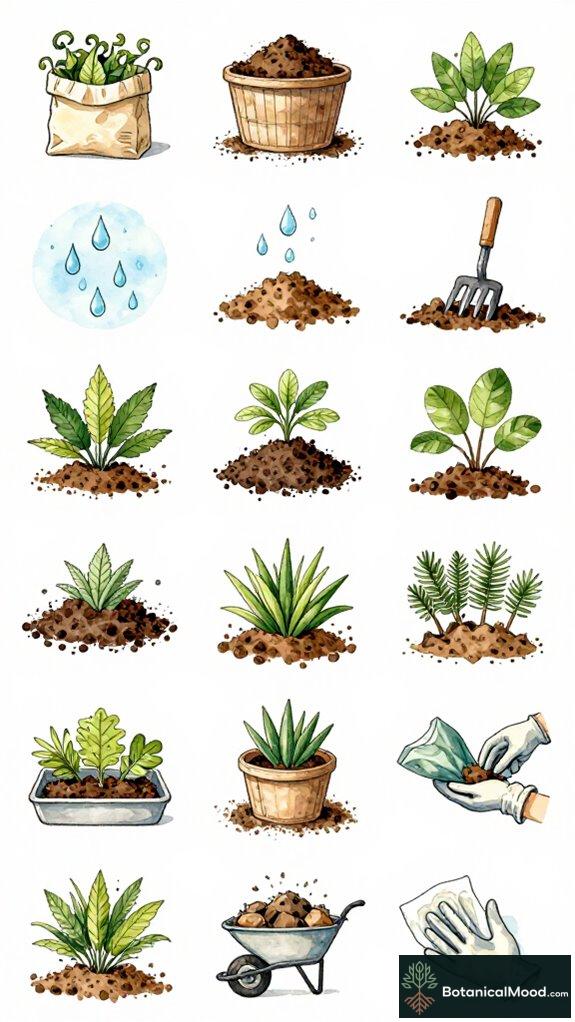
Layer Dog Waste and Carbon in a 2:1 Recipe
After you’ve tested drainage in your covered, draining buried bin, start building the working “recipe” that actually drives breakdown and pathogen suppression.
I layer dog waste with carbon in a strict 2:1 recipe, so bacterial balance stays stable as the mass settles. I add a measured scoop of fresh poop, then immediately cover it with carbon sources like sawdust or dry grass clippings, keeping moisture like a wrung sponge.
To speed microbial colonization, I dust each layer with Enzopet Pet Waste Starter, letting enzymes and bacteria (Bacillus spp.) do the work, then I repeat, building up to 2–3 feet.
Get the Pile to 60°C and Turn Weekly
To hit the target temperature, you need the pile to reach at least 60°C (140°F), and you’ll do that by managing heat, air, and moisture inside your sealed, draining bin system, not by “hoping” the microbes will work themselves.
I check temperature monitoring daily at first, then every other day, using a long thermometer probe. When it’s below 55°C, I adjust moisture like a wrung sponge and add carbon, then let the heat build.
Once you’re consistently at 60–65°C, I turn weekly with a fork, aerating evenly, so my composting techniques stay pathogen-safe.
Cure, Store, and Fix Odor or Slow Breakdown
I store it covered, aerated, and slightly moist for odor control, because slow breakdown keeps the nutrient balance predictable.
- Finish in sealed, vented bins in-ground
- Sprinkle biochar, like (Sassafras) for buffering
- Add a carbon blanket, sawdust or grass clippings
- Rotate by fork, then let mature undisturbed
If smell spikes, I rehydrate carbon and confirm dryness. For additional odor management around your pet composting area, consider using natural vinegar sprays to maintain a fresh environment.
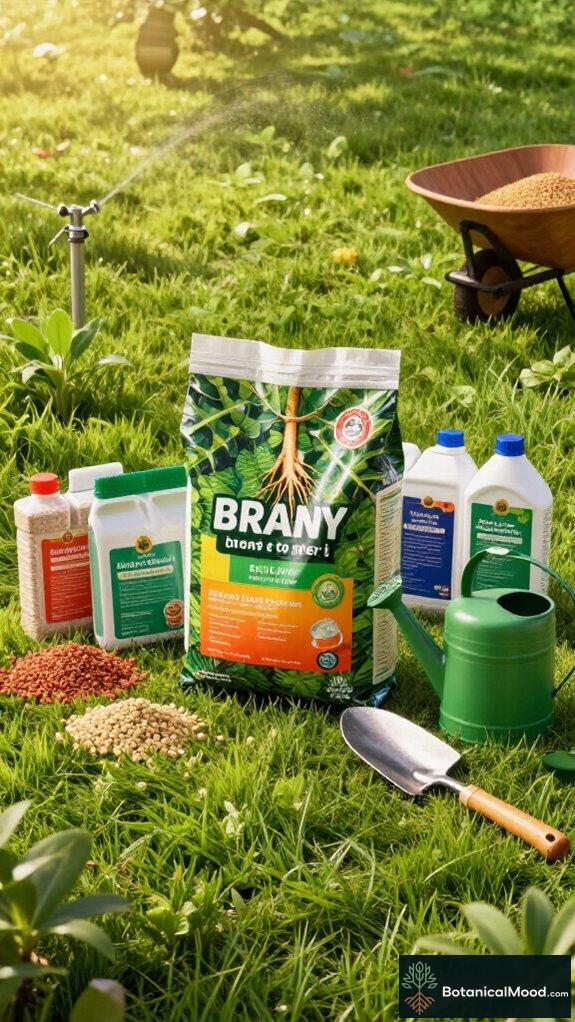
Related Pet-Friendly Garden Proucts
When you plan a pet-friendly garden alongside your dog waste composting routine, I recommend choosing purpose-built, low-odour products that support safe microbial activity and help you manage moisture, carbon balance, and final soil buffering, so your beds stay workable for years rather than just weeks.
I apply pet friendly mulch like shredded bark, coco coir, or straw to shade the compost zone, suppress splashback, and keep bedding drier.
For feeding, I select organic fertilizer blends—well-finished compost or pelletized manure-free options—so N cycles steadily, then I mulch again to reduce leaching. Compost starters containing beneficial enzymes accelerate the breakdown of organic matter and improve decomposition efficiency.
Composting dog waste requires safe microbial decomposition to eliminate harmful pathogens while transforming the material into garden-safe soil amendment.
In practice, Enzopet Pet Waste Starter and eco-eze Compot pair well with these materials.
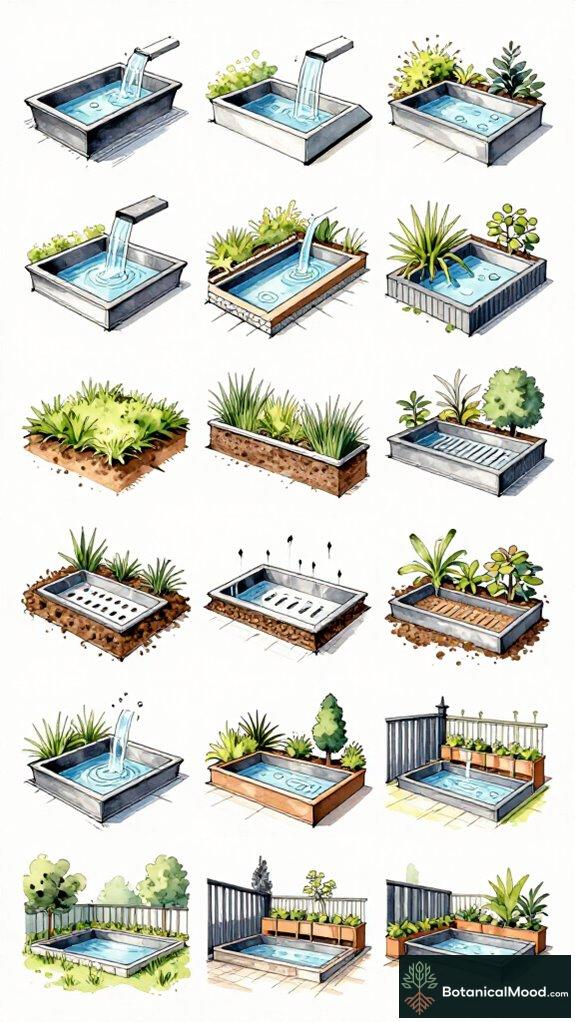
Raised Beds for Pet-Safe Composting
Raised beds can give you a far more controlled, pet-safe composting zone, and you can build that control right where your dog spends the most time.
I design a narrow, removable raised frame—about 30–45 cm high—with a lined base, then create drainage channels so liquids don’t pool around dog waste. For innovation, I add aeration slats and a lockable service door, keeping heat cycles consistent and reducing odor. Consider using septic treatment tablets specifically formulated for pet waste to accelerate decomposition and improve compost quality. An in ground pet waste digester offers an alternative underground option for those seeking a more permanent installation.
- Use a geotextile layer and clean gravel drainage
- Stack waste + carbon (2:1), then cap with soil
- Seed each lift with Enzopet Pet Waste Starter
- Monitor 60–65°C, turn weekly
You’ll get stronger compost benefits, faster pathogen kill, and tidy bed edges (Solanum lycopersicum).
FAQ
Can I Compost Poop Collected in Plastic Bags?
Yes, but only if your biodegradable bags truly break down—remove them for best results. I’d never compost non-biodegradable plastic; it’s stubborn as quicksilver. For pet waste, bag-free layers into your bin work faster and safer.
How Do I Know the Compost Is Hot Enough to Kill Pathogens?
I check the compost temperature with a probe thermometer and aim for 140°F (60°C) or higher; keep it there long enough, turning weekly until stable. That heat drives pathogen elimination, so you know it’s safe before you cure.
Is It Safe to Use the Finished Compost on Non-Edible Plants?
Yes—if you hit 140°F/60°C and cure fully, you can safely use the finished compost on non-edible plants. You’ll get better soil structure, nutrients, and smarter dog waste disposal—so you innovate your garden and stay pathogen-safe.
What Should I Do if the Bin Gets Too Wet or Starts Pooling?
If your bin gets too wet or puddles, I fix drainage and moisture balance fast: stop adding waste, open the lid, add dry carbon (sawdust/leaf litter), and check bin drainage holes for clogging. I turn weekly to aerate.
How Long Does the Process Take in Winter Versus Summer?
In summer, mine finishes in 4–8 weeks, then cures 1–2 years; in winter, the temperature impact slows composting speed, so I often wait 3–6 months before it crumbles, plus the same cure.
References
- https://ecobags.co.nz/blogs/ecobagsnz-blog/a-step-by-step-guide-to-building-your-own-backyard-dog-poop-composter
- https://www.instructables.com/Big-Dog-Poop-Composter/
- https://goldendognh.com/blog/5-steps-to-compost-pet-waste-turn-into-garden-gold/
- https://www.epa.gov/system/files/documents/2022-11/Composting-Dog-Waste-Booklet-Alaska.pdf
- https://directcompostsolutions.com/8-ways-to-compost-dog-waste-at-home/
- https://petimpact.co.uk/blogs/poo-revolution/how-to-compost-dog-poo
- https://sfyl.ifas.ufl.edu/sarasota/natural-resources/waste-reduction/composting/what-is-composting/what-can-be-composted/composting-dog-waste/
- https://www.youtube.com/watch?v=iSUEYHAynJg