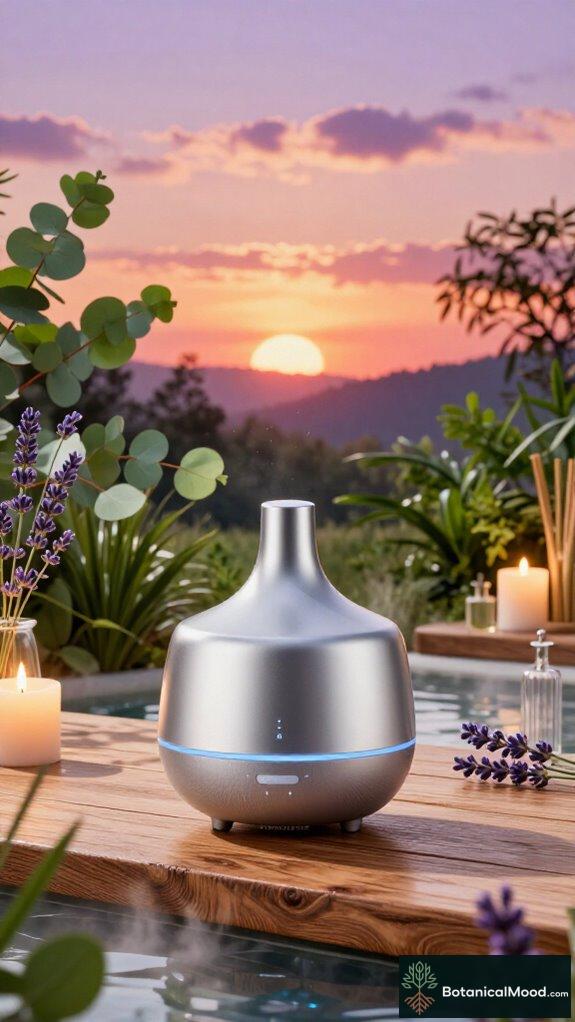
7 Best Outdoor Scent Diffusers for 2026 (Freshen Up Your Space)
Picture your patio transformed—discover which outdoor scent diffuser reigns supreme in 2026.
Picture your patio transformed—discover which outdoor scent diffuser reigns supreme in 2026.
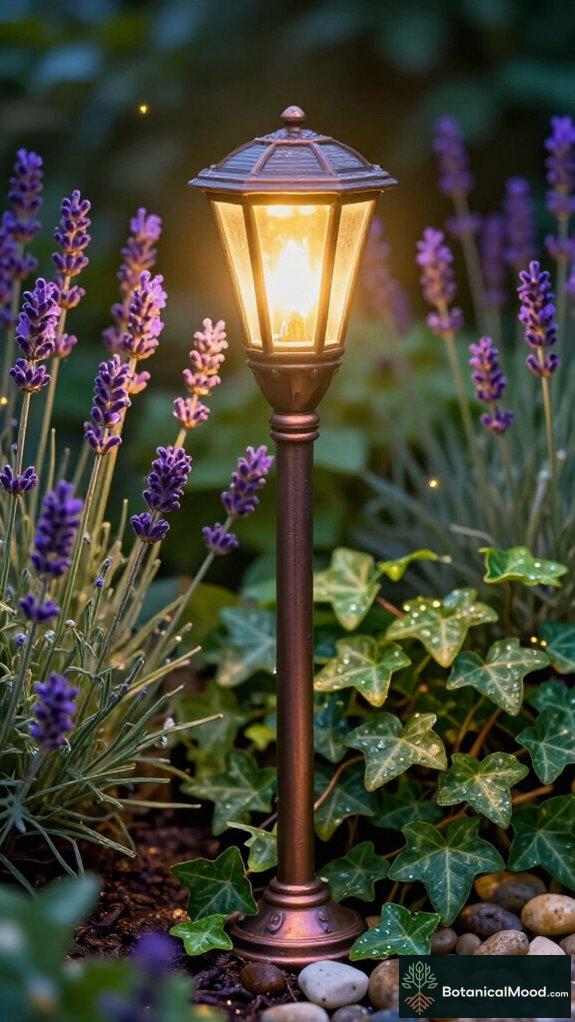
Understand the secret behind a luminous garden—these seven stakes blend art and engineering in unexpected ways.
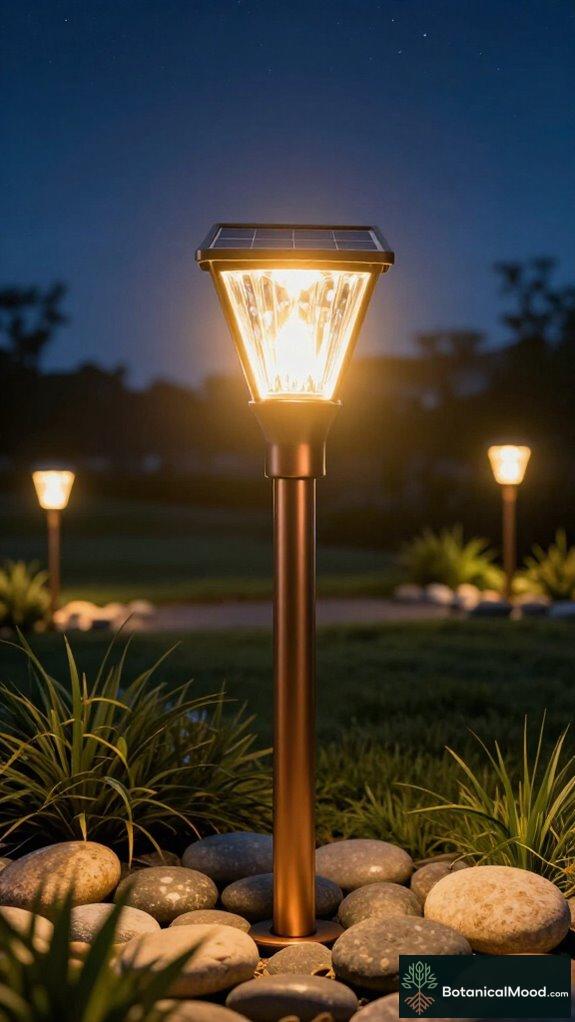
No ordinary glow—discover the 7 solar path lights that illuminate even the darkest evenings with unbeatable brilliance.
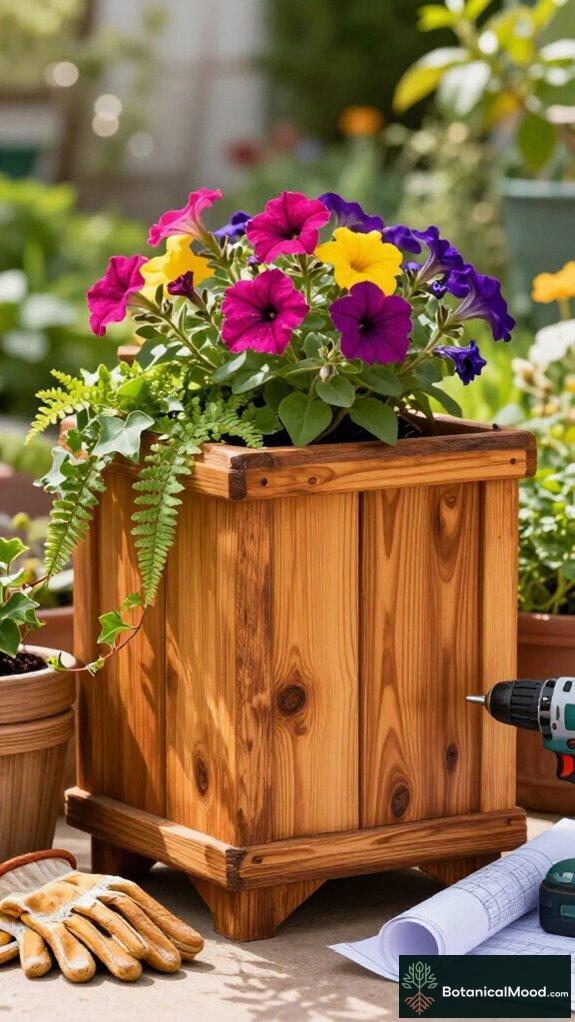
Sculpt the perfect curb appeal with 9 cedar boxes worth building around, but discover which one fits your style before you scroll away.
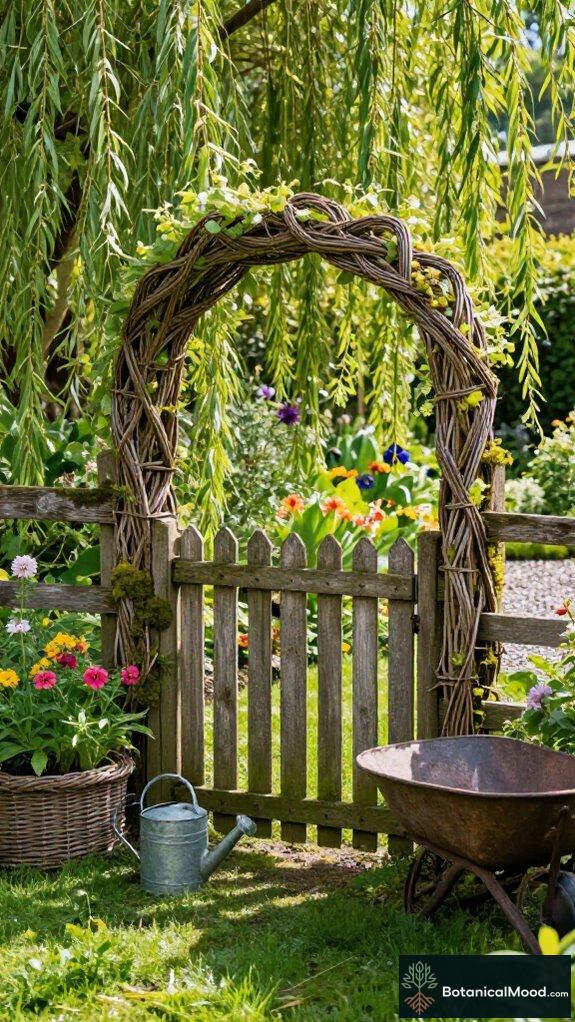
Bendable, durable willow fences for 2026—discover seven options that blend sustainable materials with climber-ready design, and learn which one tempts you to read on.
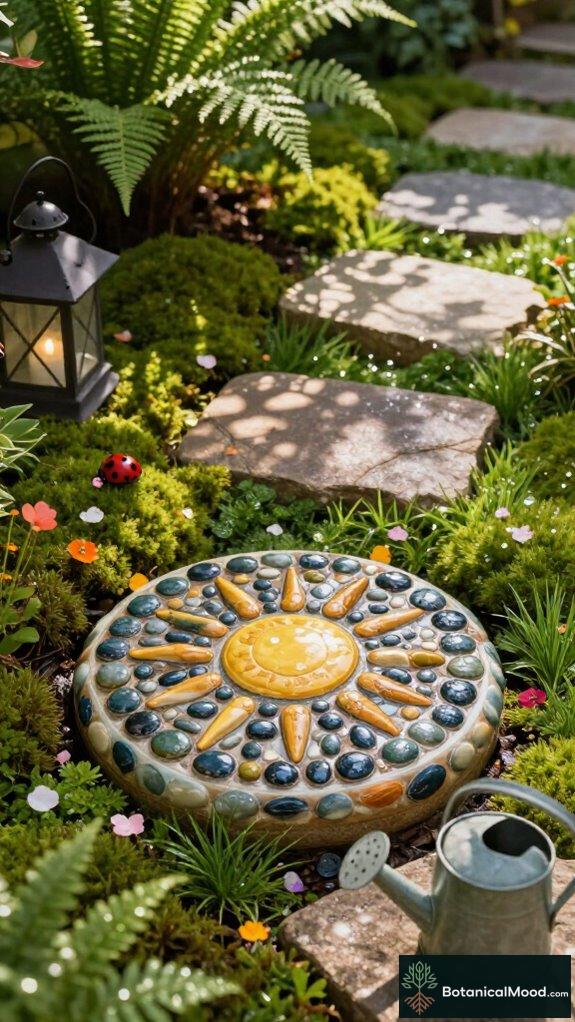
Aiming to elevate your path, these 9 best garden stepping stones for 2026 blend durability and design—will your favorite upgrade your yard or surprise you next?
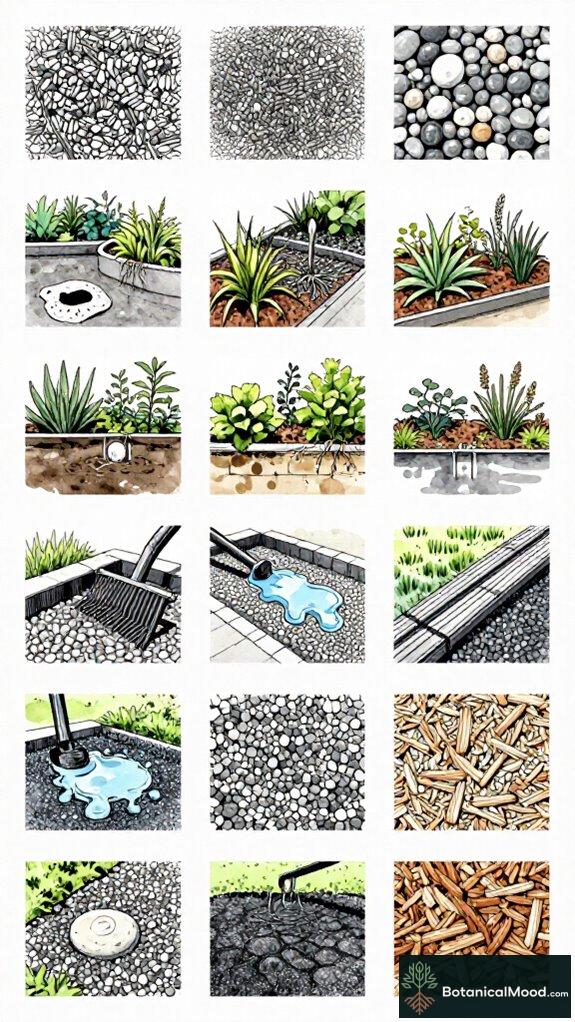
Lively yet practical, discover 7 pros and cons of garden gravel—durability, drainage, and drawbacks that might change your landscape plans.
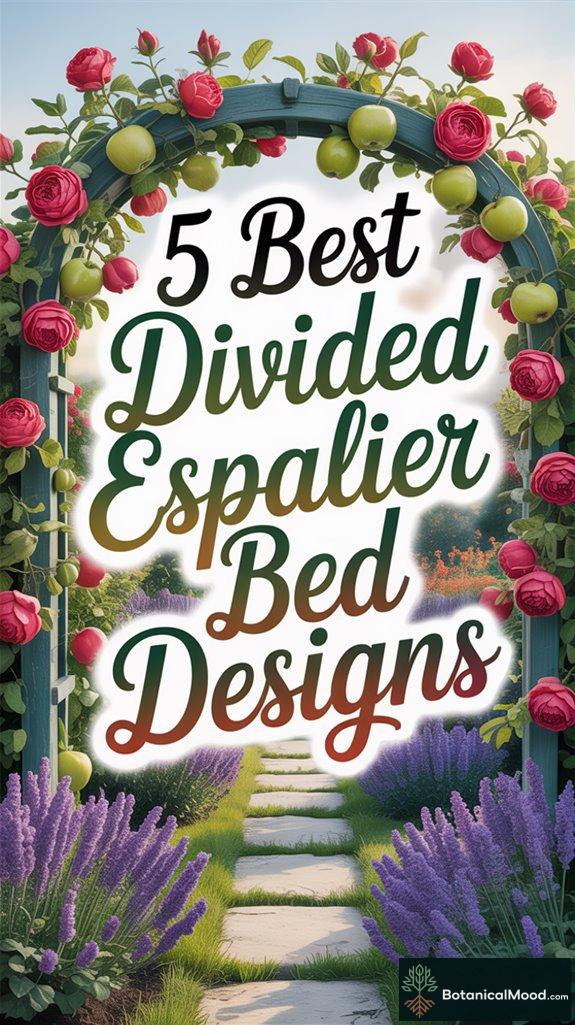
Discover five stunning divided espalier bed designs that will transform your garden—each offering unique styles and layouts that inspire creativity.

Open the door to innovative vertical gardening with the top 5 multi-section patio planters that will transform your space and elevate your gardening game.

Open your garden to innovative possibilities with stylish stackable block gardens that enhance any space—discover how to create a lush, functional oasis.